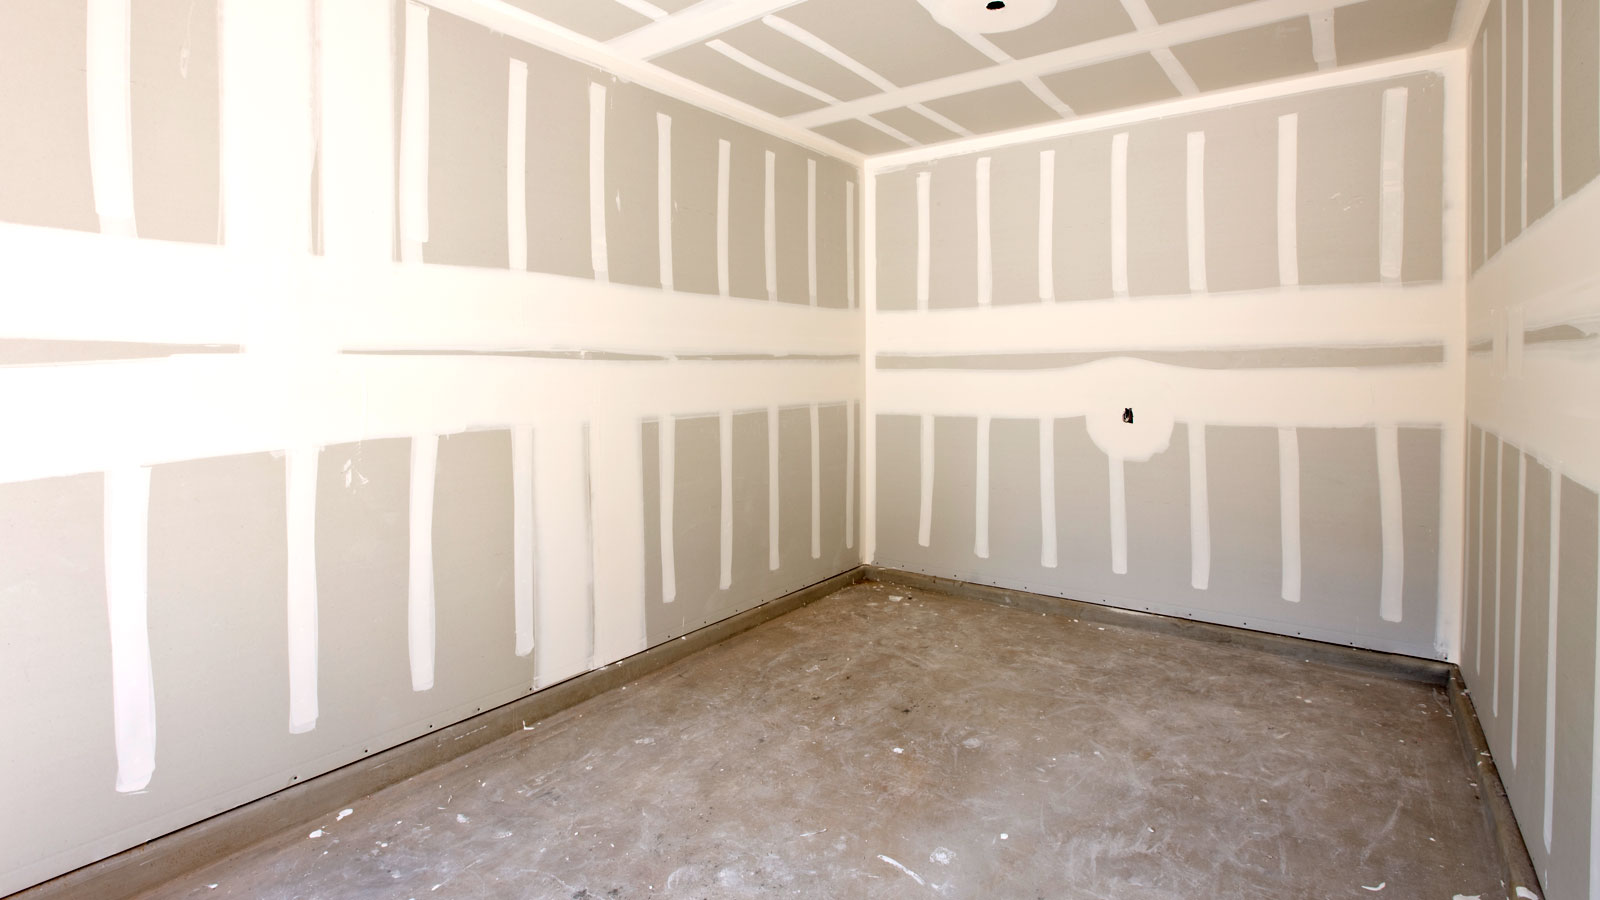
If you have a garage and are looking for extra living/working space, you can transform it in no time at all. Rather than building an extension, a garage is a ready-to-work with space just waiting to be quickly moulded into what you want or need.
Whether you want to quickly hide ugly walls or turn it into a smart, livable space plasterboarding a garage marks the beginning of transforming that cold, uninviting space into an affordable, friendly and welcoming area. Here we take a closer look at what you need, the costs and whether you should DIY it.
Tools and materials to plasterboard a garage
Before you start plasterboarding a garage, you’ll need to gather the appropriate tools and materials. It’s not a quick or simple job, so you may need to invest in a new set of tools and materials. Here we list what you’ll need.
Optional: Plasterboard can be awkward to lift, position, and fit alone, but these tools will help.
Materials you’ll need to plasterboard a garage
Specially designed to cut plasterboard, this saw has a hardened steel blade with 45° and 90° angle guides. It boasts triple ground, hard-pointed teeth to help ensure a smooth cut.
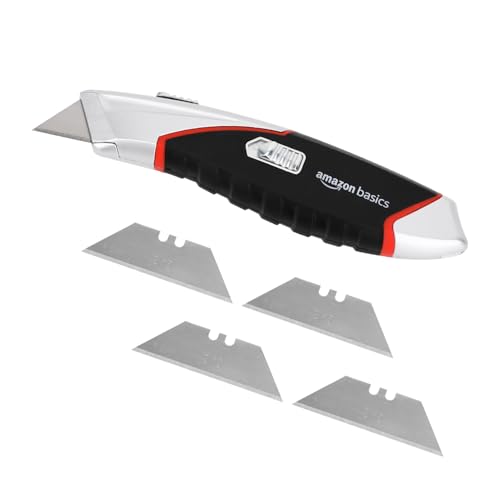
Amazon Basics Heavy Duty Utility Knife
A sharp utility knife is key for cutting plasterboard. This heavy-duty knife has a rubber anti-slip cushion grip handle for a secure grip, quick blade replacement and a 3-position retractable blade.
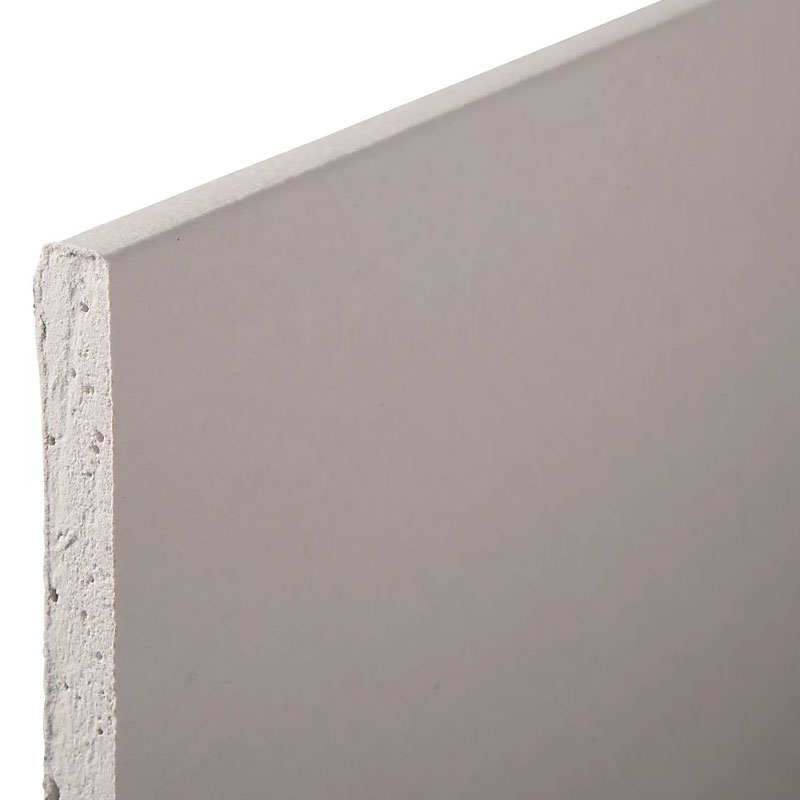
Gyproc Standard 12.5mm Plasterboard
This standard square edge gypsum-based plasterboard is an ideal choice for plasterboarding a garage. Available in 12.5mm and 9.5mm sizes, it can be fixed to metal or wood frames.
Choosing plasterboard to use
Natalie Mitchell
Natalie Mitchell has worked as a property and construction expert for HomeHow for five years and has worked in the construction industry for over twenty years. Natalie continues to work on building projects while also providing expert construction and property advice to industry professionals and DIY enthusiasts.
Different types of plasterboard have different properties, but as a general rule, you can use standard 12.5mm plasterboard in detached garages. This has a 30-minute fire separation and will suffice if not a living area. Check with your local authority if unsure.
There is the option to use acoustic plasterboard for improved soundproofing, or insulated plasterboard for extra warmth. Again, 12.5mm is the ideal thickness.
If you have an integral or attached garage, things are different, as Natalie Mitchell, property/construction expert at HomeHow shares, “To comply with Building Regulations, fire-resistant plasterboard must be used in integral garages – those which are attached to the main dwelling.” They add, “There are a few different types, including Gyproc Fireline, Glasroc X and Type X plasterboard. These offer better fire resistance than standard or moisture-resistant varieties.”
Bring your dream home to life with expert advice, how to guides and design inspiration. Sign up for our newsletter and get two free tickets to a Homebuilding & Renovating Show near you.
Alongside the type, you also need to think about the thickness, typically this is 12.5mm for the required fire resistance, but 15mm can be used.
How to plasterboard a garage
1. Put up the framework
When plasterboarding a garage, the first step is to put up a frame. Mitchell says, “This may be metal or timber studs, which the plasterboard sheets will be attached to.” They add, “If using wooden battens, fit a moisture-proof membrane between them and the wall.”
The battens should be treated, a minimum of 25mm x 50mm, and (centre to centre) 400 or 600mm apart. Thicker battens i.e 100mm allow for more insulation.
2. Fit insulation
Insulation is placed in the spaces between the battens. Mitchell says, “This may be rolls or boards of insulation.” Boards are often a better choice, but typically cost more. To stop condensation, Mitchell adds, “You should install a vapour barrier over the insulation before fitting the plasterboard.”
3. Attach the plasterboard
With a frame in place, the next step is to attach the plasterboard. If attaching to timber battens, screwing into plasterboard is the preferred choice. Make sure to use appropriate screws (like these TIMCO Drywall Fine Thread Bugle Head Black Screws from B&Q). These are Philips countersunk 38mm screws, ideal for 12.5mm plasterboard.
4. Skim plasterboard
To achieve a hardwearing finish, it makes sense to think about skimming the plasterboard, especially if the area is going to be used as a living space. Note, this will add to the overall cost. Alternatively, you can paint straight onto plasterboard; this is ideal if the space isn’t a full-time living space, and will save on costs.
Scott Godfrey
Scott Godfrey has over 20 years of experience in carpentry and joinery, is a master craftsman, and a successful business owner. He has extensive experience in both bespoke and large-scale projects, including luxury home builds and renovations.
Plasterboarding a garage costs
The costs to plasterboard a garage will depend on several factors, such as the size of the garage, the quality of materials, location and whether you call in a pro. For example, 2.4m x 1.2m Gyproc Standard Square edge 12.5mm Plasterboard from B&Q costs around £13 a sheet. But the same size Gyproc Fireline Square edge Plasterboard from B&Q (which has higher levels of fire protection) costs almost double.
As a general guideline, Scott Godfrey, carpenter and owner of Black Hammer, says, “On average, plasterboard, insulation, vapour barriers and fixings can cost between £300 and £600.” This is for an average-sized garage.
Labour costs will depend on location and experience, Godfrey points out, expected rates. “These typically range from £150 to £250 per day.” He adds, “Overall, a professional job might cost between £700 and £1200, including materials and labour.”
As always, get three or four quotes from local tradesmen to get an accurate price for the job.
FAQs
What happens if you put up plasterboard without a vapour barrier/insulation?
If you are going to make the effort to plasterboard a garage, it makes sense to do the job properly. You can skip insulation and a vapour barrier if you want to give your garage a more aesthetically pleasing finish, and it’s not going to be used as a living area.
But be warned, the lack of both can lead to unwanted issues as Kevin Keen, owner of Keen’s Buildings, points out, “Condensation will soak into the plasterboard, inviting mould and soft spots. He adds, “Without insulation, the garage runs cold then hot, stressing the board and shortening its life.” If a metal frame has been used, condensation can corrode the frame.
How long does it take to plasterboard a garage?
This will depend on whether you are calling on a professional or tackling the project yourself, and the size of the garage. The typical size for a single garage in the UK is approximately 6m x 3m.
Obviously, a professional will have all the necessary tools and experience and will get the job done faster than a DIYer. Godfrey offers a general guideline: “For a professional, plasterboarding a typical garage usually takes around two to three days.” He adds, “This includes building the frame, fitting insulation and plasterboard, then finishing the surface.”
Even if you’re a competent DIYer, it will still typically take longer than a professional. Godfrey adds, “A DIYer could need anywhere from a long weekend up to a week, depending on experience and how much time they have.”
Plasterboarding a garage is the first step in transforming it into a more usable space. But if you want to go further, make sure to check out our garage extension ideas and our guide on half garage conversions. To get an idea of what you can expect to pay, check our guide on garage conversion costs.
View the original article and our Inspiration here


Leave a Reply