No one wants wonky tiles and raised edges spoiling a beautiful-looking bathroom or kitchen wall. To prevent this, you need to start from the right place. Here, we examine a selection of smart solutions for tiling an uneven wall, some of which are quicker, simpler, and less expensive than others.
The current state of the wall being tiled will have a significant impact on how to tile a wall. Small imperfections can be easily remedied with preparation and a little extra adhesive. Bigger issues will need the intervention of some specialist DIY skills and extra materials and tools.
Adam O’Malley
Adam O’Malley offers expert insight into tiling trends, logistics, and installation. He ensures homeowners have access to quality tiles and advice for every project.
Assess tiling an uneven wall
There are different degrees of unevenness when it comes to walls; some are easier to deal with than others. The first step is to assess the unevenness of a wall.
This will determine what course of action needs to be taken. Still, as a general rule, it is not recommended to tile an uneven wall without the correct preparation, as Adam O’Malley, Operations Manager at Tile Mountain, shares, “According to BS EN 5385 Part 1:2018, the recognised code of practice for tiling, ‘The surface should be true such that, when checked with a 2m straightedge with 3mm thick feet at each end, the straightedge should not be obstructed by the background and no gap should be greater than 6mm.’
He adds, “If gaps exceed 3mm, local correction is required. That means any wall surface must be sufficiently flat, stable and upright before tiling can begin.”
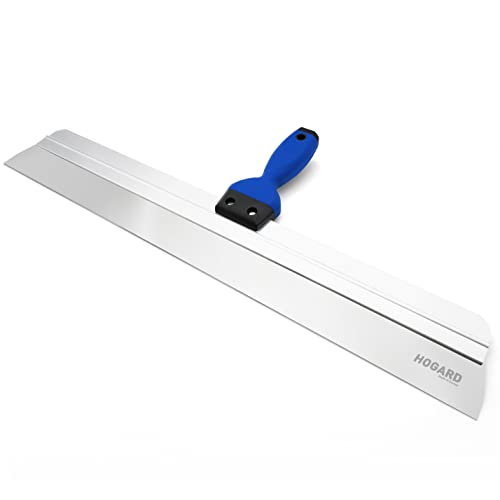
This taper tool is ideal for smoothing out newly applied plaster, thanks to its flexible stainless steel blade. Come in sizes from 10-inch to 24-inch.
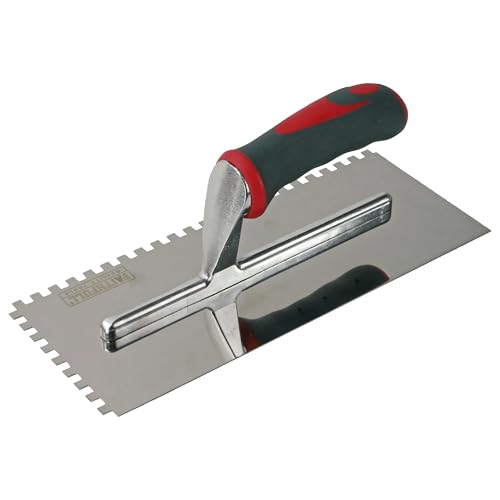
Faithfull Notched Tile Trowel
A stainless steel notched tile trowel with a soft grip handle for a comfortable and secure grip. Its 6mm notches make it ideal for applying adhesive for standard-size wall tiles.
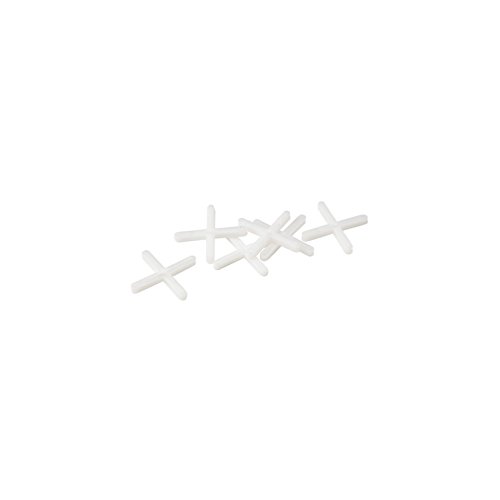
To make sure that you get equal gaps and good-looking grout lines you need tile spacers. These come in a pack of 250 and you can choose from 3mm or 5mm.
Prepping an uneven wall
If the unevenness is only slightly off (and sits within the 6mm recommendation), you need to do some simple preparation before tiling. O’Malley recommends the following: “Check for loose plaster, flaky paint or any areas that need filling or repair. Scrape away any unstable material and ensure the wall is clean, dust-free and primed before progressing.”
Bring your dream home to life with expert advice, how to guides and design inspiration. Sign up for our newsletter and get two free tickets to a Homebuilding & Renovating Show near you.
Two ways to get a wall even
How you even up an uneven wall will depend on how uneven the wall is. Here, we examine two popular methods: one for slightly uneven walls and another for more challenging walls.
1. Skim the wall
If the variation in a wall is around 3-6mm, you can fill larger dips and finish with a skim coat of plaster as O’Malley shares, “A fresh skim coat provides a flat, secure base for tiling. However, whether to skim or fully replaster depends on the condition of the existing surface. If the backing plaster is sound, a skim may be sufficient. But if it’s crumbling or unstable, a full replaster might be the better option.”
It’s worth noting that when plastering walls, the typical plaster depth of a skim coat is 1-2mm, so you may need to add a second skim coat to build up the plaster and achieve a more even finish.
2. Add plasterboard
If you have an uneven wall that exceeds the recommended 6mm, a quick and simple way to create a flat, even surface is to introduce plasterboard, shares O’Malley. “Dot and dab plasterboard is a popular solution for creating a level surface over uneven walls, but only if the original plaster is secure enough to support both the boards and the tiles. Done properly, it offers a fast and effective way to create a smooth surface for tiling.”
Once the plasterboard has been dried into place, you need to know how to skim a plasterboard wall to get the smooth finish you’ll need.
Where and how to start tiling
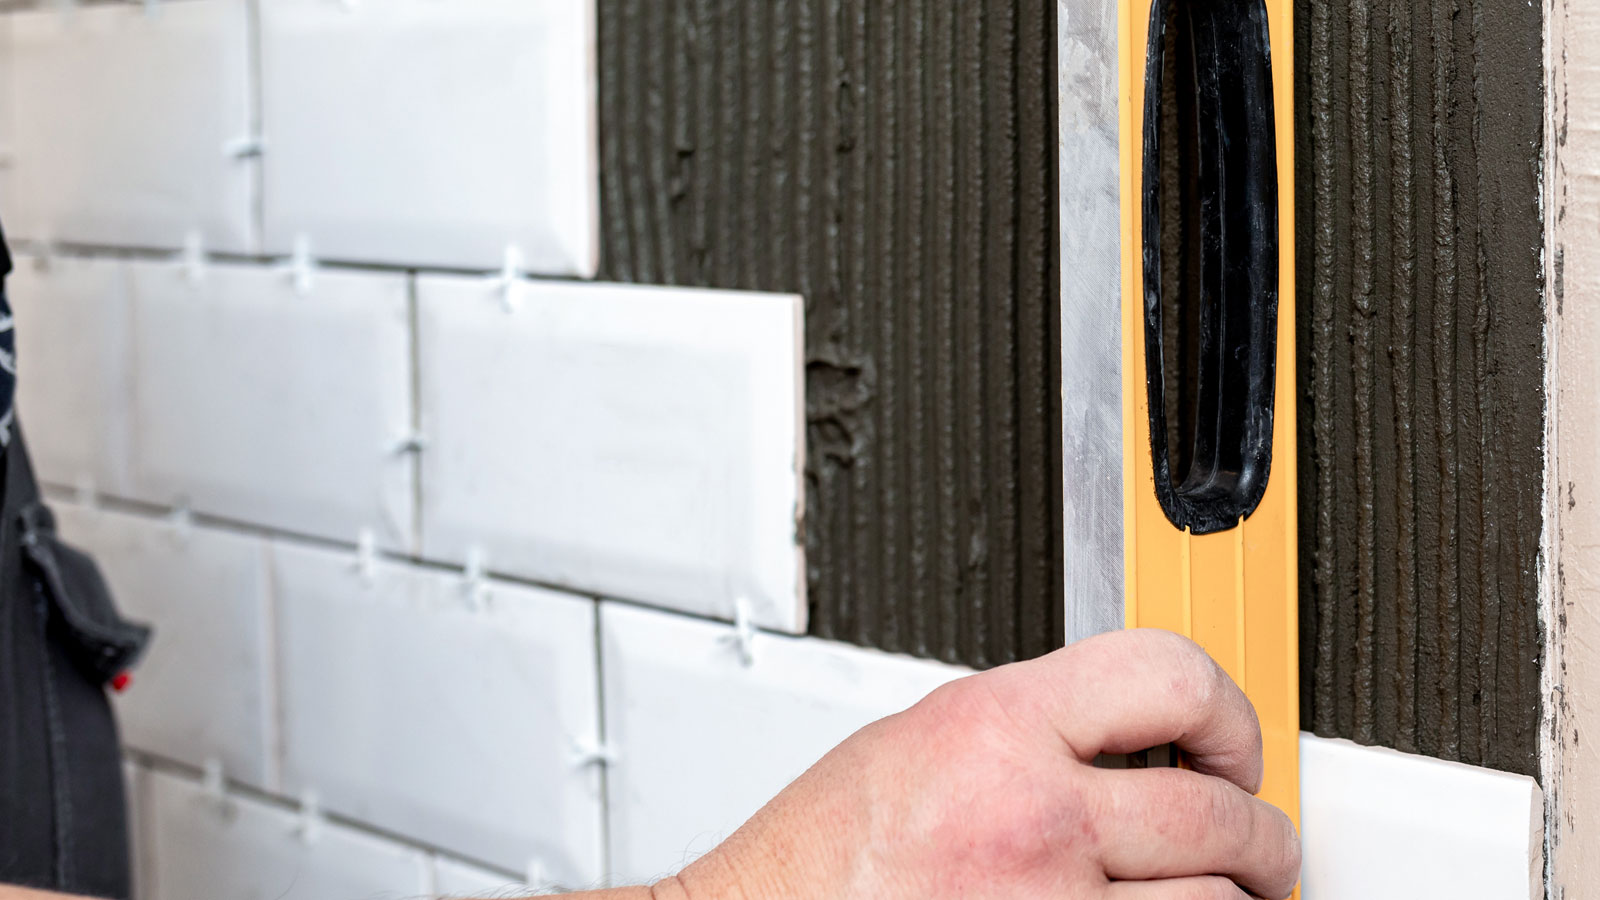
Before you start any tiling, ensure that your preparation is complete. O’Malley says, “Preparation is key. In addition to ensuring the wall is flat and primed, starting from a straight and level baseline is essential.”
When tiling a wall you need to pick the right start point, O’Malley says, “For best results, start from the centre or a prominent visual point and work outwards, making small adjustments as needed to maintain alignment.”
Small amounts of unevenness when adding tiles to a wall can be corrected with the smart use of tile adhesive. O’Malley explains, “Tiles should be fixed into a solid bed of adhesive and back buttering the tiles (applying adhesive directly to the tile as well as the wall) can help achieve full contact.”
He adds, “While the recommended adhesive bed is 3mm, the standard allows this to be built up to 6mm in isolated areas, but only as a minor correction, not a substitute for properly preparing the wall.”
FAQs
Is it better to use small or large tiles on an uneven wall?
Ideally, you want to get a wall as flat and level as possible to ensure you have a decent surface to tile. However, if you have an uneven wall, you can use almost any type or size of tile, but some work better than others. As O’Malley explains, “As long as the wall is properly prepared, either small or large tiles can be used.”
He continues, “That said, larger tiles tend to highlight surface irregularities more readily, so thorough preparation is even more critical.” He adds, “On the other hand, small-format tiles or mosaics are more forgiving on less-than-perfect surfaces.”
Can you tile over tiles?
Can you tile over tiles? This is a common question, and the simple answer is yes. In most cases, it’s simply a matter of ensuring that the old tiles are level, free from dirt, debris, and grease, and securely in place. Before adding new tiles on top of old tiles, wash them down with a sugar soap solution.
However, if you have any loose tiles, fix them first, and ensure that any old, mouldy, or loose sealant is removed and the area is thoroughly cleaned. You will be adding a significant amount of extra weight, so you need to consider whether the substrate can handle it.
Typically, standard-sized tiles should be sufficient, while larger tiles may pose a problem. Check with a professional. Finally, you’ll be doubling the depth of the tile. Therefore, ensure that the extra depth doesn’t affect areas such as the top of a half-tile wall or skirting boards.
What size notched trowel do I need for wall tiles?
Notched trowels with 6mm or 8mm notches are the popular choice for standard-sized tiles. This spreads the tile adhesive to the right depth and leaves the right air gaps. For larger tiles, you will need larger notches to ensure you get the right level of adhesion. Typically, notches measuring 10-12mm are the preferred choice.
If you’re looking to tile a wall make sure to check out our bathroom tiling ideas and wet room ideas for insight and inspiration. And, don’t forget our practical How to fit tile trim to ensure you get clean neat looking edges where needed.
View the original article and our Inspiration here

Leave a Reply