
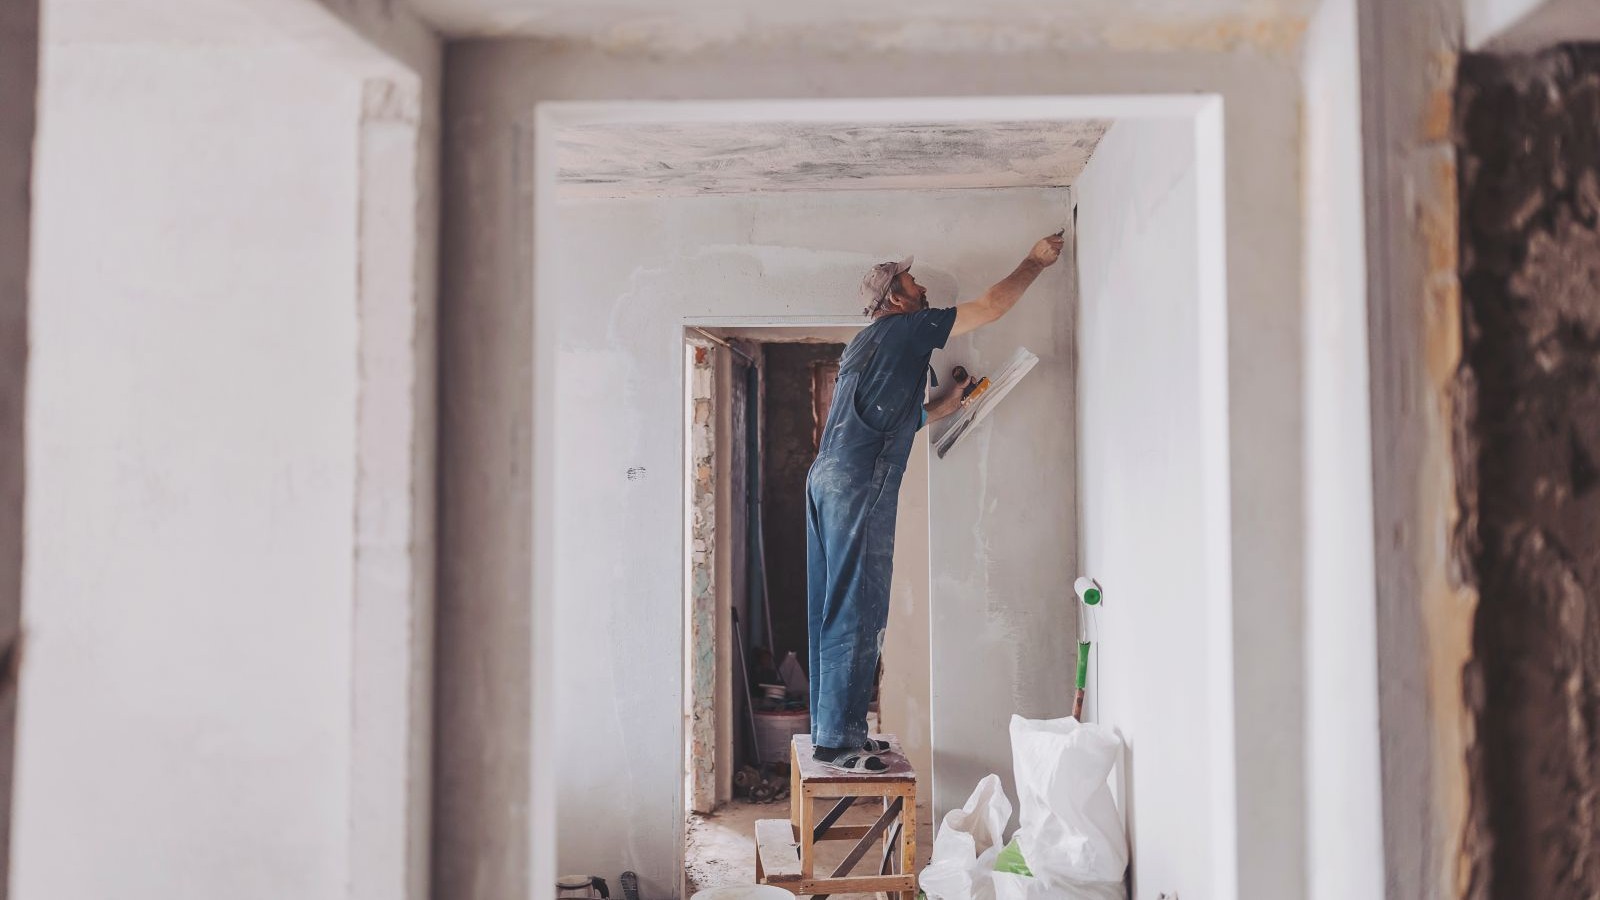
Roll-on plaster for walls has become a popular choice for DIYers and professionals seeking a faster way to achieve a smooth, even finish.
While it can save time and reduce mess compared with traditional skimming, it is not suitable for every wall or condition.
Knowing when it works well, and the common mistakes that can lead to poor adhesion, uneven surfaces, or ruined finishes, is essential before starting to plaster walls.
What is roll-on plaster?
Roll-on plaster is a type of wall coating that comes pre-mixed and ready to use.
It is applied directly to walls with a roller, similar to painting, rather than using a trowel like traditional plaster.
Depending on how it is applied, it can create smooth, textured, or patterned finishes, giving walls a finished look in a single layer.
Best roll-on plasters
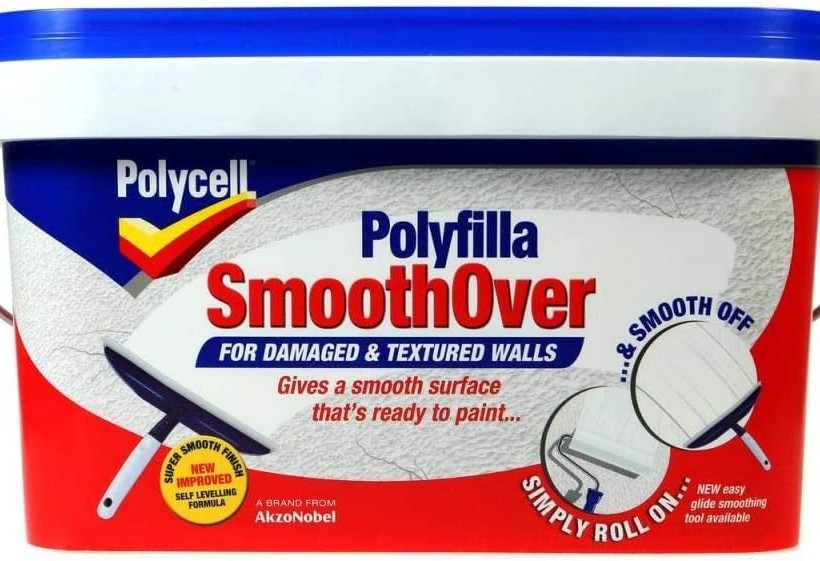
Polycell Smoothover Plaster
Roll-on plaster for damaged and textured walls 2.5l.
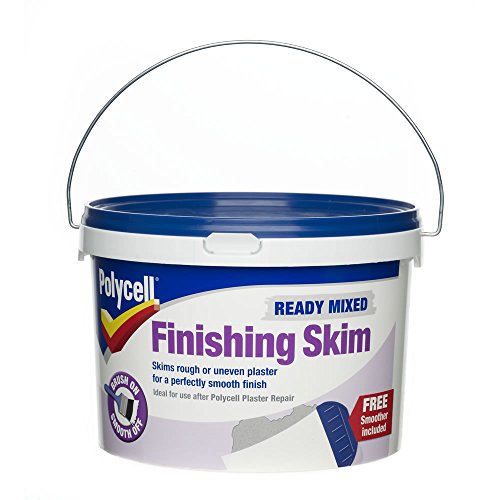
A 2.5 litre finishing skim Polyfilla tub used for walls and ceilings.
When to use roll-on plaster for walls
Roll-on plaster for walls works best on large, flat surfaces where a smooth finish is required. It is particularly useful in living rooms, bedrooms, and other interior spaces where aesthetics matter.
Professional decorator Mike Cupit, who has over 20 years of experience, explains: “Using roll-on filler to skim a wall is quick, easy, and gives a great result. It’s a lot cheaper than hiring a plasterer, and you’ll have a full room skimmed in no time.”
Roll-on plaster for walls is also ideal for covering textured surfaces such as Artex, providing a uniform, modern finish.
Shop plaster rollers

BELOWSYALER Plaster Roller
Texture Pattern Roller Brush Compound Roller Wall Brush Putty Roller.
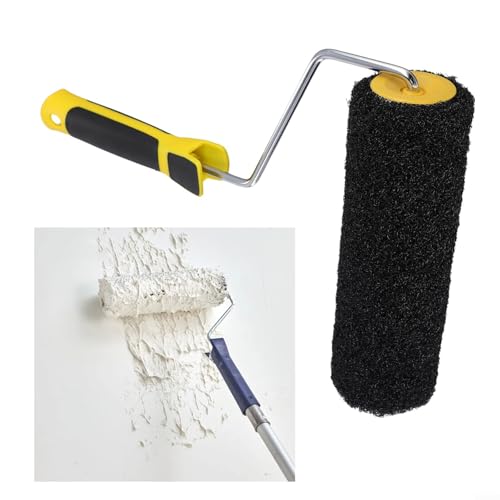
Application and Cleaning, plaster Roller, drywall Compound Roller.

9 Inch Drywall Compound Roller With Paint Frame, and 6.6ft Pole Handle.
When not to use roll-on plaster for walls
Despite its advantages, roll-on plaster for walls is not suitable for every situation. Avoid using it on:
- Surfaces with structural issues, such as deep cracks or loose plaster.
- Areas with high moisture levels, including bathrooms or kitchens, where the plaster may not adhere properly or could deteriorate.
Architect and TV presenter Charlie Luxton advises: “Before applying any plaster, you need to make sure the walls are dry, stable, and free from structural defects. Roll-on plaster is fantastic for interiors, but moisture-prone rooms can compromise the finish.”
Using roll-on plaster on unsuitable surfaces can increase the cost when plastering a wall.
Tips when using roll-on plaster for walls
Charlie Luxton and other UK decorating professionals emphasise preparation and the right tools:
- Preparation is key: Clean and sand walls thoroughly to remove dust and debris for proper adhesion.
- Use the right tools: A quality filling blade and roller help spread the plaster evenly.
- Control the environment: Keep room temperature consistent and avoid high humidity during application and drying.
- Finishing touches: Lightly sand the surface once dry to remove imperfections before painting.
Luxton adds: “For minor cracks and chips, I always recommend a roll-on plaster – it’s applied with a roller to smooth the wall.”
Mike Cupit adds: “For the best finish, I recommend a Prep Alu Flex Skimming Blade and sealing the surface with Zinsser Gardz before painting to prevent dusting and ensure better paint adhesion.”
FAQs
Q: Can I use roll-on plaster in bathrooms?
A: No. High humidity can compromise adhesion and durability.
Q: How long does roll-on plaster take to dry?
A: Typically 8 hours, but this can vary depending on room temperature and humidity.
Q: Can I paint directly over roll-on plaster for walls?
A: Yes, after drying and light sanding, apply a mist coat before your chosen paint.
Roll-on plaster for walls provides a practical and efficient way to achieve smooth, professional-looking walls without hiring a plasterer.
By following verified expert advice and understanding where and when to use it, you can transform your home interiors with minimal effort.
Always check wall conditions and the specific needs of each room before starting to ensure flawless results.
View the original article and our Inspiration here
Leave a Reply