
Deteriorated or “spalled” joints are the number one problem in a concrete floor. Saw cut contraction/control joints and construction joints create interruptions in the concrete floor’s surface. These interruptions create impact points along the joint edge and joints are then subject to deterioration or damage by the crossing wheels of material handling vehicles, pallet jacks, shopping carts, etc. Properly filling and protecting these joints with a semi-rigid epoxy or polyurea joint filler is the best way to prevent that joint deterioration.
There are many possible causes of joint deterioration, the most common of which are joints that were never filled, joints filled with a joint “sealant” or insufficiently rigid joint filler, and joints being filled improperly. Additional causes can include joint filler separation or tearing, improper saw cutting timing or the use of warped or damaged saw blades on the newly placed slab, poor finishing along joint edges, slab edge curl or warping, and subgrade voids or deficiencies below the slab.
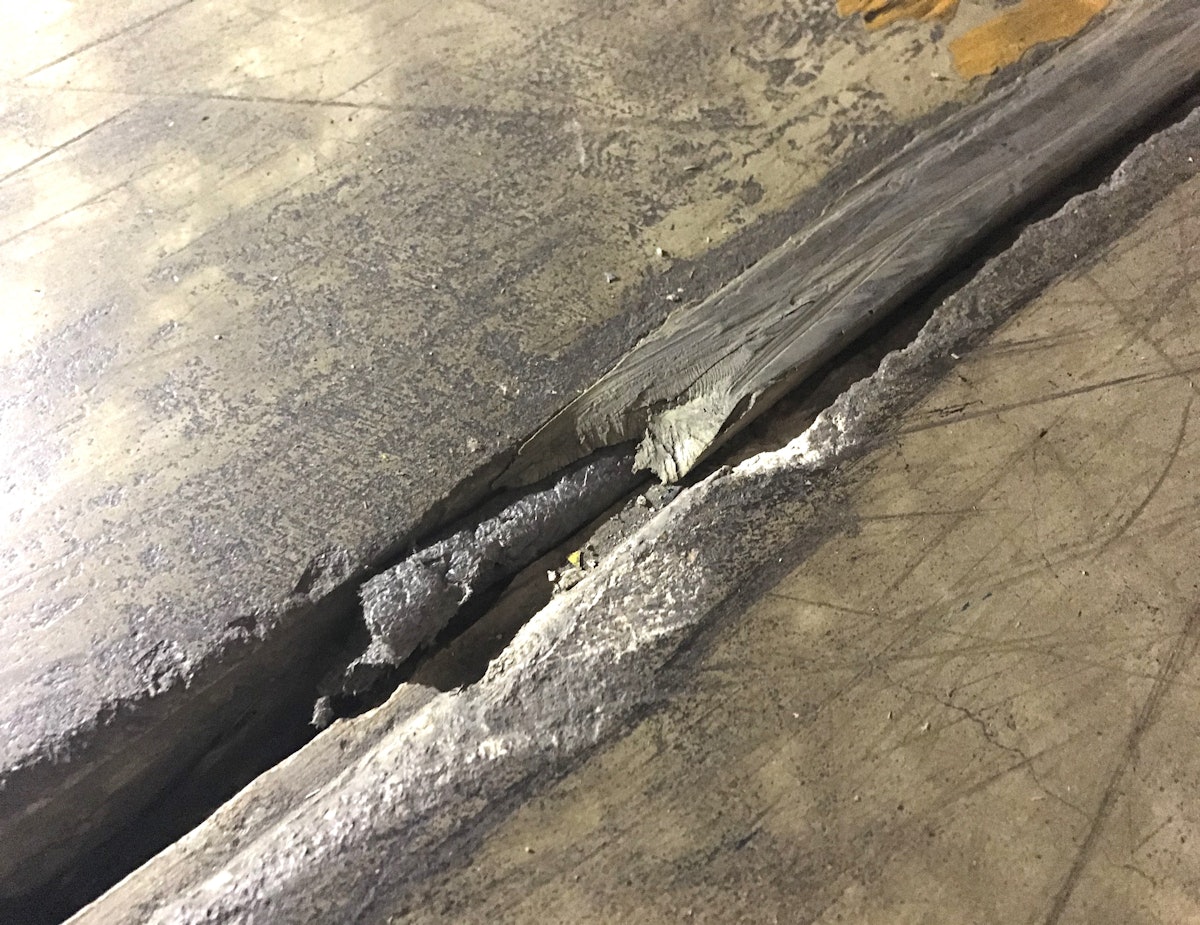
 Ravelled concrete joint edges from late sawcut timing. Metzger/McGuire
The American Concrete Institute (ACI) in their reports 302 and 360 indicate that to prevent joint edge damage in trafficked floors, joints should be filled with a semi-rigid epoxy or polyurea joint filler having a Shore A hardness of A80 or higher per ASTM D 2240. This standard dates back to the early 1980’s, and current draft revisions of these documents revise this recommendation to an increased filler hardness of A85+.
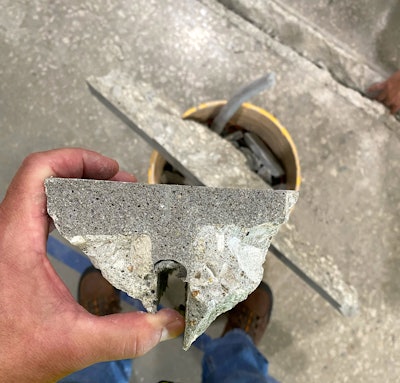 A cross section of a structural repair where the saw cut was not deep enough. Metzger/McGuire
A general rule of thumb is that the Shore A hardness of the joint filler should be equal to or greater than the Shore A hardness of the wheels crossing the joints. If a semi-rigid filler is not sufficiently rigid, it can deflect under a crossing load, exposing the joint edges to impact damage.
Use this table to help match the joint width and building to Shore A hardness.
| Joint Repair Width | Facility Type | Repair Product | Shore A Hardness (Minimum) |
|---|---|---|---|
| 1/4 to 1/2 in. | Heavy Duty Industrial Warehouse, Distribution Center | Semi-Rigid Polyurea Joint Filler | A85+ |
| Semi-Rigid Epoxy Joint Filler | A85+ | ||
| 1/2 to 1 in. | Semi-Rigid Polyurea Joint Filler | A90+ | |
| Semi-Rigid Epoxy Joint Filler | A90+ | ||
| 1 to 4 in. | Sand Modified Semi-Rigid Epoxy Joint Filler | A98+ (with sand aggregate) | |
| Structural Epoxy, or Urethane/Polyurea Mortar | |||
| 1/4 to 1/2 in. | Moderate Duty Industrial Warehouse, Distribution Center | Semi-Rigid Polyurea Joint Filler | A80+ |
| Manufacturing | Semi-Rigid Epoxy Joint Filler | A80+ | |
| 1/2 to 1 in. | Moderate Duty Industrial Warehouse, Distribution Center | Semi-Rigid Polyurea Joint Filler | A85+ |
| Manufacturing | Semi-Rigid Epoxy Joint Filler | A85+ | |
| 1 to 4 in. | Moderate Duty Industrial Warehouse, Distribution Center | Sand Modified Semi-Rigid Epoxy Joint Filler | A98+ (with sand aggregate) |
| Manufacturing | Structural Epoxy, or Urethane/Polyurea Mortar | ||
| 1/4 to 1/2 in. | Retail, Grocery Restaurant, School | Semi-Rigid Polyurea Joint Filler | A80+ |
| Semi-Rigid Epoxy Joint Filler | A80+ | ||
| 1/2 to 1 in. | Semi-Rigid Polyurea Joint Filler | A80+ | |
| Semi-Rigid Epoxy Joint Filler | A80+ | ||
| 1 to 4 in. | Sand Modified Semi-Rigid Epoxy Joint Filler | A98+ (with sand aggregate) | |
| Structural Epoxy, or Urethane/Polyurea Mortar | n/a |
Underlying Causes
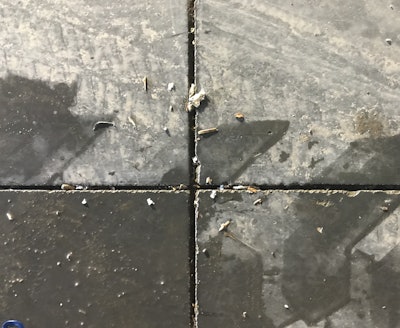
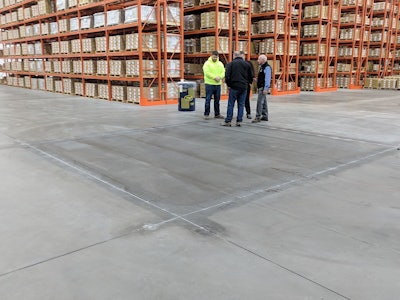
 Measuring slab deflection. Metzger/McGuire
One common condition is subgrade voids leading to slab panel deflection or “rocking.” If slab panels deflect or drop as vehicles cross the joint, the joint edge on the higher side can suffer dramatic impact damage. ACI 360 notes that slab deflection of more than .060” (1.5 mm) will lead to reduced service life of the floor and should likely be repaired.
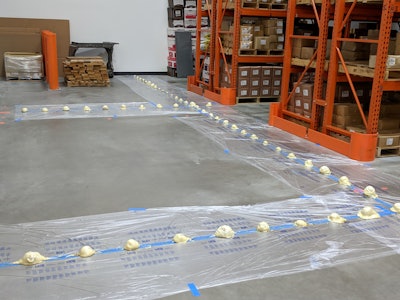 During the installation to stabilize a slab using structural foam.Metzger/McGuire
 After, a stabilized slab with joints repaired.Metzger/McGuire
Operational conditions such as dragging or pushing pallets may require behavioral changes to avoid future joint damage. Seasonal movement of joints should also be considered before tackling repairs, especially in buildings with no active climate control or in floors with extended or limited joint floor systems.
The fewer joints the floor has, the more dramatic the movement that takes place at each location, and the more sensitive the preferred timing of repair. Where continual joint movement is determined to be the cause of joint failure, repairs should optimally be performed midway through humidity and temperature cycles, typically spring or fall.
View the original article and our Inspiration here
Leave a Reply